How to use V Layers in your designs
Want to know how to create editable images behind vector objects?
We’ve added some new functionality to TemplateCloud that along with the new image library will help you make your designs even more flexible for the end user and help you sell more of your designs. It’s called V layers.
V layers mean that you can create irregular shaped editable images as well as having editable images behind locked vector graphics. The result of this is that elements such as images can now be editable along with overlaid text.
So how does it work?
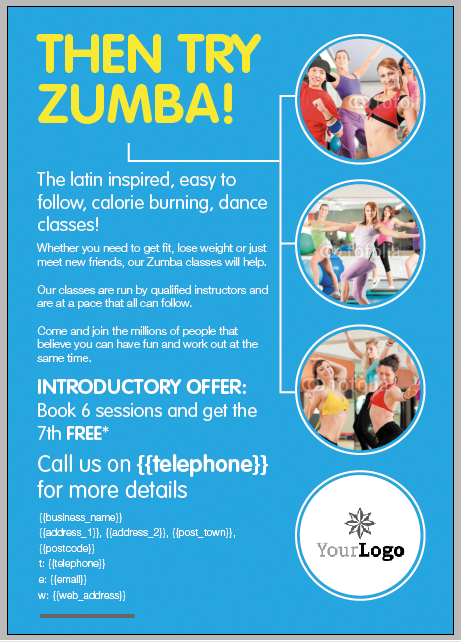
It’s really easy to add this versatile function to your designs. All you need to do is create a mask (or masks) of the shape you want – essentially a vector object on it’s own layer. For example, in this design I’ve created a simple cyan rectangle in InDesign and then punched out 4 circles using the Objects > Pathfinder > Subtract tool:

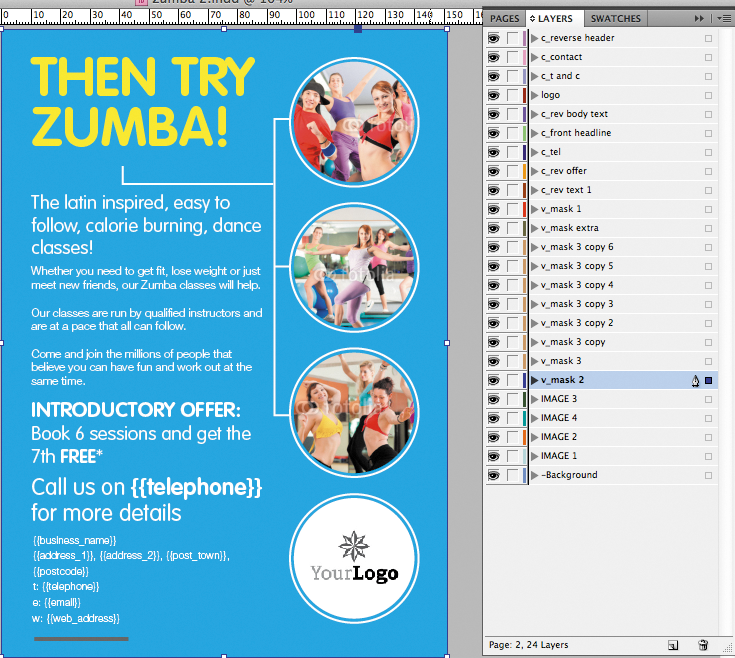
Next, create a new layer. The layer should be labelled starting with ‘v_’ this is a v_ layer. V is for Vector (not versatile, but it sounded better as a header). Put the mask shape or vector object onto this layer. Your label should be labelled, for instance v_Mask 1. The three images in this example are then placed behind the mask in the layer order like this:
Once your V layer is in place you can then add your editable text as normal above it.
The example above has more than one V layer.
The extra layers (colored in brown) are for the white circles and the white lines on the artwork. You can add as many V layers as you like, but you can only have one vector element per v_layer.
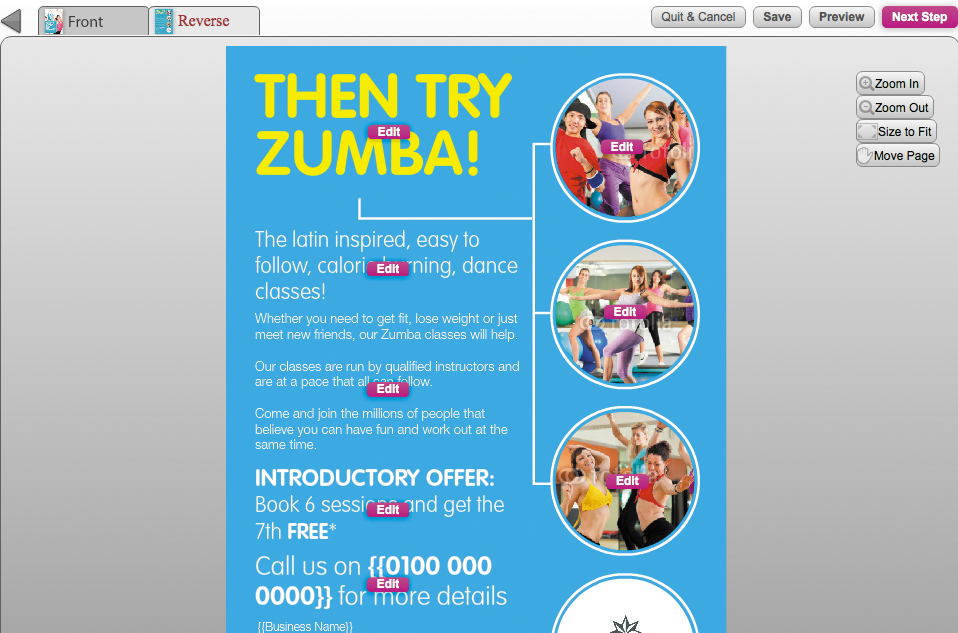
This is how the same file looks to the end user:
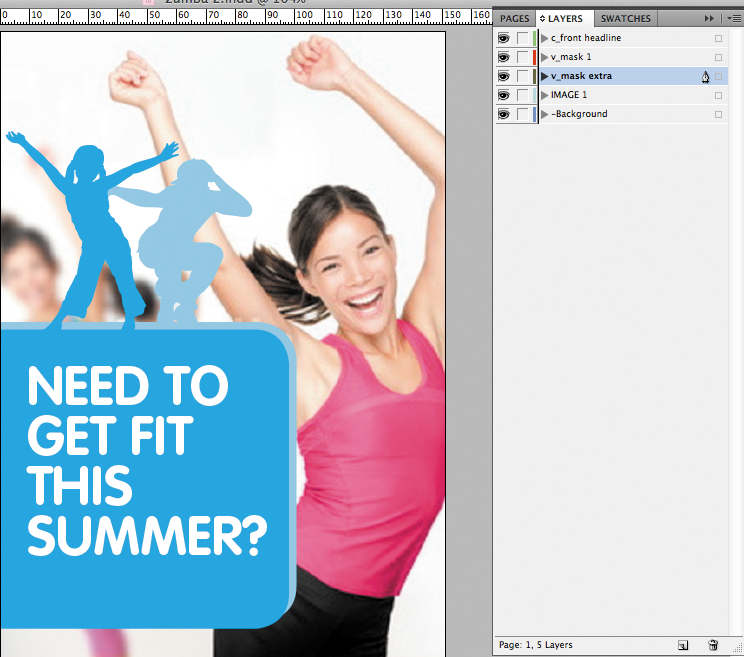
Using a V layer gives you a great deal of creative flexibility when building your designs. For example the design below uses vector objects as V Layers that overlay an image, making the image behind editable. The two blue shapes are locked and the text on top is also made editable:
So here the image is editable and so is the ‘Need to get fitâ?¦â? text.
Key points:
- Label your layer as v_ (v_mask for instance)
- Only use vector shapes on V layers
- Only one item per V layer
- You can have more than one V layer per design
- Position any images that are to be editable through your V Layer below the V layer
- Remember that V layers aren’t editable by the end user
To see an onscreen demonstration of this, watch this video for more information. Or you can try our V Layers Tutorial to give you some extra practice.
Any questions post them below.
Happy designing!


